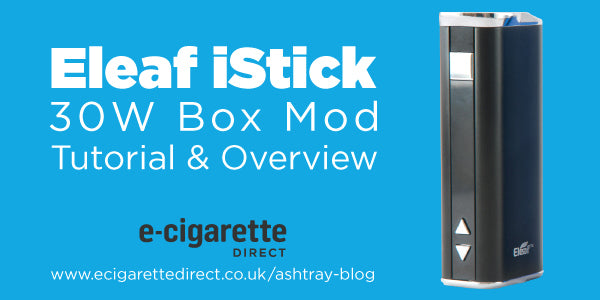
Eleaf iStick 30W Box Mod Tutorial & Overview
Update: The Eleaf iStick 30W has been replaced by a number of upgraded versions of the device. Eleaf iStick fans might want to check out:
- Eleaf iStick Power: 5000mAh battery, up to 80 watts of power.
- Eleaf iStick Power 2 kit: Great MTL device, also with 5000mAh power.
One of the most frustrating things over the last few months is that while we have been able to sell the Eleaf iStick 30W in our UK shops, we've not been able to do so online, either because of supplier restrictions or because we haven't been able to get enough in stock.
And while we've tried dozens of different box mods from different suppliers, few come close to matching the iSticks functionality and style.
However, we have finally managed to get sufficient stock of the Eleaf iStick to get on our UK website (at least for now!)
And if you are new to this beautiful little device, you should find everything you need to know in this tutorial!
iStick Key Features
- battery capacity of 2200mAh
- variable voltage capability from 2V to 8V
- variable wattage capability from 5W to 30W
- sub-ohm capability (0.4Ω - 5Ω)
- automatically detects clearomiser resistance
- passthrough charging capability
- screen switching facility (ideal if you're left handed!)
- OLED display
- atomiser and low voltage short circuit protection
- puff length count
- spring connector with stainless steel thread creating a seamless connection between battery and clearomiser
What's in the box?

- 1 x Eleaf iStick
- USB cable
- 1 x 510 to eGo adapter
- Manual
Tutorial and Instructions
- Charging
- Charger + Pass through
- Clearomiser Compatibility
- Switching On and Off
- Switch between VV and VW
- Sub-Ohming
- Lock device
- Switch Display
- Related Posts
Charging the iStick

As always, make sure you give your new iStick a good charge to condition the battery. The iStick needs two and a half hours to fully charge (using a wall charger). When charging, the battery level indicator will flash continuously. When fully charged, the indicator will stop flashing, flash for 15 seconds and then go out.Always take care to charge your e-cig batteries safely. For safe charging guidelines, see The 10 Rules of E-Cig Battery Safety.
Charger + Pass Through Capability

The iStick comes with a USB charger. And if, like me, you're constantly forgetting to charge your battery, you're going to love the convenient passthrough capability. Simply plug the iStick into a USB port and you can vape while it charges.
Clearomiser Compatibility

The iStick is compatible with 510 and eGo threaded devices such as the Aspire BDC using the eGo adaptor (included with the battery). My own favourite tank with this device is the Aspire Mini Nautilus, while my colleague Emily prefers to use the Aspire Atlantis. Remember to use a clearomiser with resistances between 0.4Ω and 5.0Ω.The 30 watt also comes with a lip at the top of the device, which means that it can fit larger clearomisers with a 22/23mm diameter without an overhang.
Switching On and Off

As usual, simply click the power button five times to switch on or off.
How to Switch Between Variable Voltage and Variable Wattage on the iStick
This couldn't be easier! Simply click the power button three times to rotate between variable wattage and variable voltage.(Quick reminder: Variable voltage controls the power going in, variable wattage controls the power going out. See here for a full explanation.)
How to Sub Ohm with an iStick

It's easy! Simply screw on a sub-ohm atomiser such as the Aspire Atlantis (minimum resistance of 0.4Ω). Ensure that the voltage/wattage is appropriate for the atomiser resistance for you are using. See here for more information.
How to Lock the iStick

Fed up of having to turn the device off every time you put it in your pocket?
You can now easily lock the device without turning it off. Simply hold the two arrow keys while the device is turned on.
Make sure you do either lock or turn off the iStick. If you don't lock or turn off your device when carrying in your pocket or bag and the buttons are pressed, the settings can be adjusted or the device can fire. It's not pleasant to find your wattage has been adjusted to 30W and you unknowingly start to vape; you can get a burnt hit or even burn out your atomiser!
How to Switch the Display
Here's a neat little trick that my colleague Emily told me about. To switch the display around:
1. Click the power button five times while the Eleaf is on. 2. Hold down the two arrows simultaneously. 3. The display will now switch around. 4. Press the power button five times again to turn the device back on.
Anything else you want to know? Let me know in the comments!