Updated August 2023
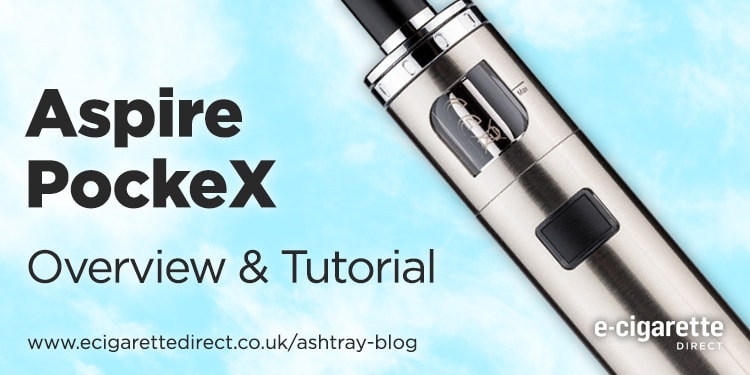
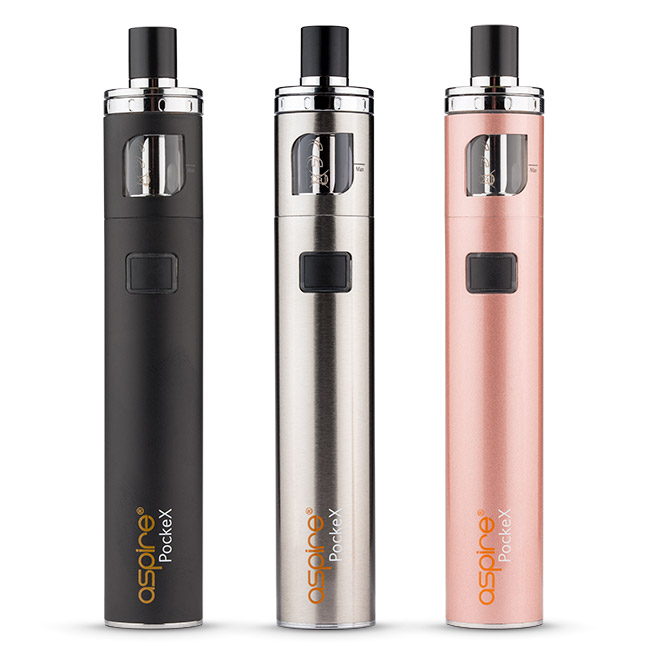
The Aspire PockeX is a super simple, easy-to-use and compact device.
Since its release in 2017, it has gained mass popularity with new and experienced vapers alike.
When Aspire first launched the device, the top-fill and coil swapping system was innovative, and made filling and using the device much easier.
A 1500mAh internal battery combined with the included 0.6Ω coils means that the PockeX produces lots of flavour and vapour. However, it is an older device, and long-time Aspire PockeX fans may want to upgrade to a more modern device such as the Xros 3 Mini.
In this post, you’ll find out how to set up, use and maintain the Aspire PockeX, as well as what we like and don’t like about it.
Contents
The Aspire PockeX is an all-in-one e-cigarette. Small and sleek, it has the power to punch above its weight and will appeal to those wanting a no-nonsense device.
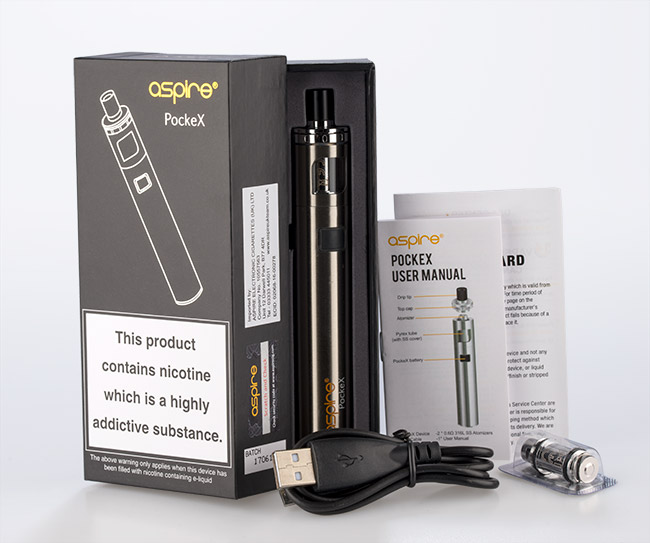
In the box
- 1 x Aspire PockeX
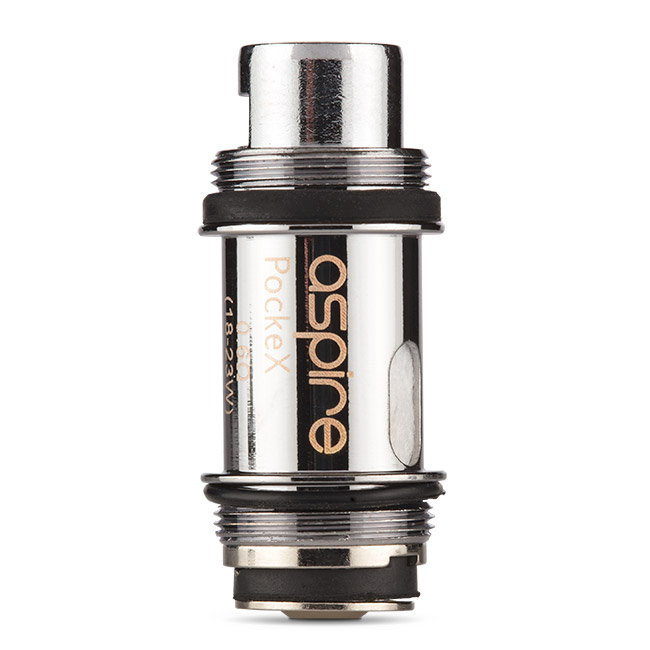
- 1 x 0.6Ω coil (installed)
- 1 x 0.6Ω coil (spare)
- 1 x Micro USB charging cable
- 1 x User manual
Key features
- 2ml tank capacity
- 1500mAh built-in battery
- Leak-free top filling
- No-spill coil swap system
- Pyrex tank
The Aspire PockeX is a compact device. Measuring just 117 x 19.7mm, it’s shorter than most smartphones and fits neatly into most pockets.
The coil screws straight into the top of the tank, with the mouthpiece fitting on top.
No new shapes here, the PockeX takes the simple and proven pen-style, cylinder form along with a well-placed tactile firing button. Charging is now handled micro USB charger on the side of the device.
The basics
The Aspire PockeX uses the tried and tested single button operation and is super easy to use.
You can do 2 things with the fire button: Fire it and turn it on/off. There’s not a lot to get wrong!
There is a 10 second auto cut off which stops the battery from firing for more than 10 seconds at a time.
You can use the PockeX in passthrough mode (using while it’s charging), and the upgrade to the design means you can now stand it on its base while it charges.

How to change a PockeX coil
- Unscrew the top cap.
- Unscrew the coil from the cap.
- Screw in a new coil
- Refit the top cap along with the new coil.
- Wait for 5-10 minutes for the wick to soak up e-liquid.
After you’ve changed the coil, be careful not to over tighten the top cap. If it’s too tight, when you remove it to refill the tank, the coil may unscrew.

How to refill the PockeX
Filling the Aspire PockeX is super easy. Simply remove the top cap and you’ve got access to the tank. Once open, fill the tank to the max line. The max level mark is quite small and can be missed. It’s next to the viewing window on the painted section of the tank.
Turning the PockeX on and off
To turn the PockeX on and off, quickly press the fire button 5 times. The light around the fire button will flash 3 times to indicate when the device is on.
Battery charge level indication
When using the PockeX, the light around the fire button will change colour depending on how much battery life you have left.
- Blue: Over 30% power remaining
- Red: Less than 30% power remaining
Airflow
Airflow on the PockeX is fixed. Whilst we’re usually big fans of adjustable airflow, doing away with adjustment means Aspire have managed to keep the PockeX super compact and still managed to create a strong cigarette-style throat hit that has been unmatched by other devices since. The fixed airflow is medium and suitable for Direct-Lung or loose Mouth-to-Lung inhales. See MTL vs DL for more information.
The PockeX device is usually paired with PockeX coils, which come in a choice of 0.6Ω and 1.2Ω resistances. However, what Aspire haven’t mentioned in their marketing material is that the Pockex is also compatible with Aspire Nautilus X and Nautilus XS coils - adding more resistance options for Mouth-to-Lung vaping.
What we like:
- Compact design
- Easy, leak-free filling
- Drainless coil swapping
What we don’t like:
- Slight rattle from firing button
- Battery can get hot
- Tank breaks easily if dropped
What e-liquid can I use with the Aspire PockeX?
The PockeX can be used for both high VG and VG:PG 50:50 e-liquids depending on the coils used.
For high VG e-liquids (VG:PG 60:40 and above) it’s best to use the included 0.6Ω PockeX coil. For VG:PG 50:50 e-liquids and nicotine salts, the 0.6Ω can still be used as well as the 1.2Ω PockeX coil and the entire Nautilus X and Nautilus XS ranges.
Check out our Vaper’s Guide to PG vs VG for more information on e-liquid ratios and how this affects your vape.
How much e-liquid should you put in a PockeX?
The PockeX has a 2ml capacity. When filling, make sure not to overfill the tank. There is a line next to the e-liquid viewing window with small letters saying Max - only fill e-liquid up to this line to make sure your tank doesn’t leak.
How do I replace the glass on an Aspire PockeX?
If the glass on your PockeX cracks or breaks, you can buy and easily install a new replacement glass tube.
- Make sure your tank is empty
- Turn the PockeX off.
- Unscrew the top cap.
- Pull the old glass out of the tank.
- Push the new glass in.
- Replace the top cap.
If the seal is broken, it’s worth getting some tissue paper and cleaning around the seal and the contacts before pushing the glass in.
How long do PockeX coils last?
How long a coil lasts depends on many factors, including how long you puff for, the e-liquid you use and the wattage you use your coil at. Low resistance coils, which are used at higher wattages, will not last as long as high resistance coils.
The 0.6Ω PockeX coil should last at least a week before needing to be replaced, while the 1.2Ω PockeX coil, Nautilus and Nautilus X coils should last longer.
You can extend the life of your coil by making sure to prime the coil before use and keeping the PockeX tank topped up to prevent the coil from drying out.
Why is my Aspire PockeX flashing orange?
A flashing orange light around the PockeX fire button indicates a low battery and will signal that the device needs to be recharged.
How long does it take to charge the Aspire PockeX?
When using the included USB charging cable the PockeX should reach full charge in around 1 hour. The light around the fire button will turn green when the device is fully charged.
