I’ve said it before and I’ll say it again - it’s an impressive tank... It’s going to be popular - wildly popular.
Pbusardo while reviewing the Aspire Atlantis Tank.
We've got two very special new product from Aspire for you on E-Cigarette Direct, the Aspire Sub Ohm CF Battery and the Aspire Atlantis Sub Ohm Tank. These two great devices are designed to work together, or with other devices suitable for sub ohm vaping.
Update: These products have now been discontinued. For alternatives, see other Aspire Vape Tanks as well as our Best Vape Tanks for Clouds Round-up.
Important information about these products:
- The Atlantis Tank is a sub-ohm clearomiser. It is essential that is used with compatible batteries only. Warranties and liability are void unless used with a genuine Aspire CF battery or other batteries marked as compatible on our website. Please read the instructions carefully as we will not be responsible for any problems that arise from a failure to follow correct usage procedure.
- Sub-ohming can burn out atomisers fast, and atomisers are not covered by our usual warranty.
- Battery power will be used up fast.
Who are these for?
The Aspire Sub Ohm Battery and Atlantis Tank are aimed at more advanced vapers, so if you’re starting off on refillable e-cig systems, I would start with something with a little less power. That said, the protection systems mean that the main thing that would put off new users is the huge amount of vapour this combo is capable of.
It produces a lot of vapour and a lot of throat hit, and a regular tank system such as the Aspire PockeX Box or the Aspire Vilter will provide a gentler introduction.
However, if you are interested in:
- sub-ohming
- huge clouds of vapour
- intense flavour production
- immensely powerful batteries
- large, eye-popping devices
but at the same time want a device that combines some of the advantages of a mechanical mod with the added safety of overcharge, over-discharge and short circuiting protection, AND a device that is also easy to use, this battery/tank combination is the one for you!
Aspire Sub Ohm CF Battery: Key Features
- stainless steel endpoints
- carbon fibre battery tube
- spring loaded connector
- 2000 mAh capacity
- output 4.2v, 40 A continuous discharge
The Aspire CF comes with a spring loaded pin which gives a flush fit whatever tank or dripper you decide to use (remember, only use atomisers / coils with resistance between 0.3 and 1.0 ohms). The bottom section of the battery is drilled to provide a release for any escaping gases.
How to turn on/off
As with our other batteries, simply click the button five times in succession within two seconds to turn the battery on or off.
Important: Use only USB tank chargers with an output of 4.2v and 420mAh to charge this device (such as the ones listed here).
Aspire Sub Ohm Safety Features
The key feature of the Aspire Sub-Ohm Battery/Tank combination is that it allows you sub ohm i.e. combining a high power battery (with a high Amp limit) with an atomiser / coil of less than one ohm.
(For more information on sub-ohming see the Vaper’s Guide to Voltage, Watts and Ohms.)
However, unlike purely mechanical mods the Aspire CF Sub-Ohm Battery and Atlantis Sub Ohm Tank come with a raft of safety features:
Overcharge protection: When voltage goes above 4.25 volts the built in microchip protection will kick in and prevent additional charging.
Overdischarge protection: When voltage falls below 3.2 volts the atomiser will be switched off and the orange light will blink 16 times.
Atomiser short circuit protection: Should the atomiser short circuit while in use, battery will default to sleep position.
Charging short circuit protection: If short circuiting occurs when charging, the led will flash 6 times and the battery will be turned off.
As with all our products, it is essential you use the correct equipment to maintain safety, and follow safe charging procedures. Using incorrect chargers or e-cig accessories and failing to charge safely voids all warranties and we will not be responsible for any injury, loss or damage arising from a failure to follow instructions. For more information on safe charging visit the Ultimate Guide to Electronic Cigarette Batteries.
Aspire Atlantis Sub-Ohm Tank: Key Features
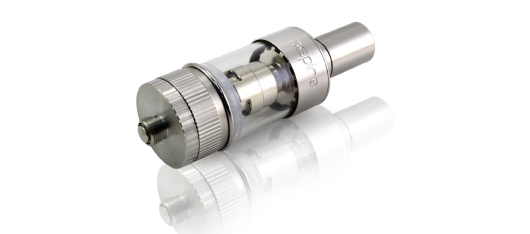
- bottom vertical coil technology
- variable airflow
- sub-ohm coil of 0.5
- spare glass tank
- The 2ml pyrex tank capacity is a good size but be warned, when vaping at sub ohm levels, you might find this goes down very quickly.
Spare tank and atomiser
When opened, don’t throw away the packaging! Tucked away underneath is a spare tank and atomiser head, so retrieve those first. (I thought I’d put that in first, just in case you don’t get any further - I hate to think of all those spares being thrown away!)
Vertical Coil Technology
The Atlantis Sub Ohm Tank uses a bottom vertical coil similar to the coils in the Aspire Nautilus Mini, except that the resistance is lower. This is achieved by using a thicker wire, which reduces the resistance by allowing more electrons to flow freely.
By using a vertical coil, there is less resistance to the air passing over the coil when you inhale, meaning better flavour and cooling.
Removable Drip Tip
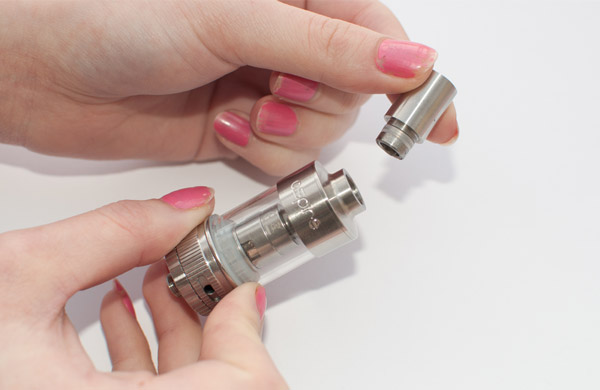
You’ll find a substantial wide bore drip tip - this is removable so you can replace it with the drip tip of your choice. The inner diameter of the included drip tip is larger than the diameter of the chimney that takes vapour from the atomiser to the tip. You can use a drip tip with a smaller diameter without affecting performance.
How to Use the Aspire Atlantis Sub Ohm Tank: Instructions
For regular tank users there’s little to confuse - refilling is the same as with regular atomisers, and using the variable airflow control is exactly the same as with the Aspire Mini Nautilus (link to tutorial).
However, if you do go straight to an Aspire Tank, or if you win one in our giveaway, you might find the following instructions useful!
How to refill
Filling is straightforward and very similar to other bottom coil clearomisers.
Hold the clearomiser upside down and unscrew the base
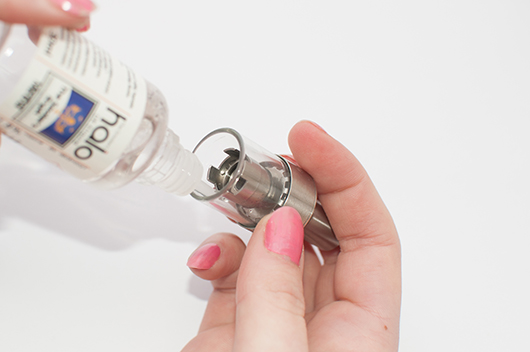
Drip liquid into the tank avoiding the center tube - but be careful not to go too fast as the e-liquid can flood into the coil.
When filling, try to line the bottle up with the low points on the top of the coil[picture]
Priming
It’s absolutely vital to prime this tank before using - failure to do so is highly likely to result not just in a dry hit but also in a dud atomiser. Drip the e-liquid directly on to the wire mesh that covers the filler material around the coil as well as down the tube in the center.
Then, as with the Aspire clearomiser (see tutorial and video here) fill the clearomiser by dripping in e-liquid, avoiding the center tube when doing so.
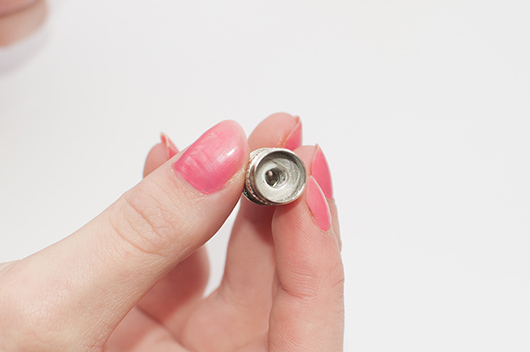
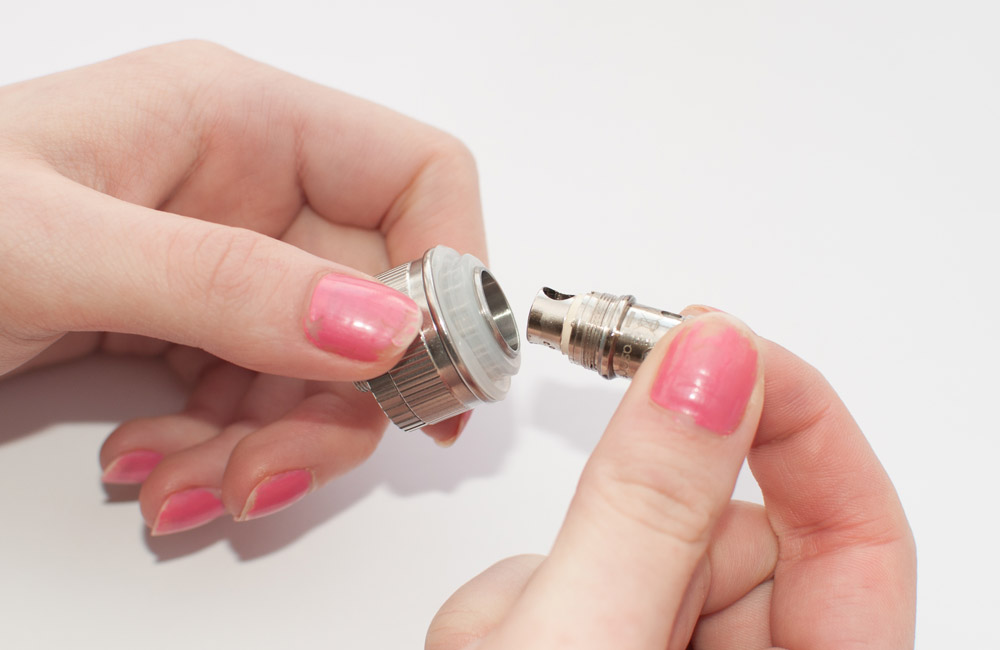
You then want to screw in the coil - with this device, you need to screw it in quite tight, ensuring that a nice fit it is made.
Allow the e-liquid to sit and soak into the filler material - it’s worth doing this for a little bit longer than usual to avoid the risk of a dry hit and a dead atomiser.
First Puff
If you are not used to sub-ohming/mechanical mods, make sure you take a gentle first inhale - or you might be in for a shock! (I gave my Atlantis to a friend to try this weekend and forgot to tell them. The result was unpleasant!)
E-Liquid Choice
You might also want to consider using an e-liquid which is one or two strengths lower than the one you use in regular tank systems. In addition, it’s a good idea to use e-liquids with a higher VG ratio as they give a smoother vape.
How to use Variable Airflow Control
The Atlantis Tank features a massive size difference in airflows, allowing for greater fine tuning of airflow to suit different e-liquids.
The larger airflow allows for more air to pass over the atomiser and therefore more vapour to travel through the clearomiser in a shorter space of time. This in turn means you can blow huge clouds while maintaining a cooler vapour.
The benefit of a smaller airflow is the increase in flavour production - you may not get as much vapour but the vapour you do get should taste better.
For an in-depth tutorial on how to use adjustable airflow click here.
Strip Down and Servicing
1. Remove drip tip so the tank is easier to stand on end when the base is removed (particularly helpful if the tank still has liquid in it).
2. Invert the tank and remove the base from the tank by unscrewing anti clockwise.
3. Remove the base from the tank and set the tank aside.
4. To remove the coil head for replacement, grip the top of the coil and unscrew from the base unit.
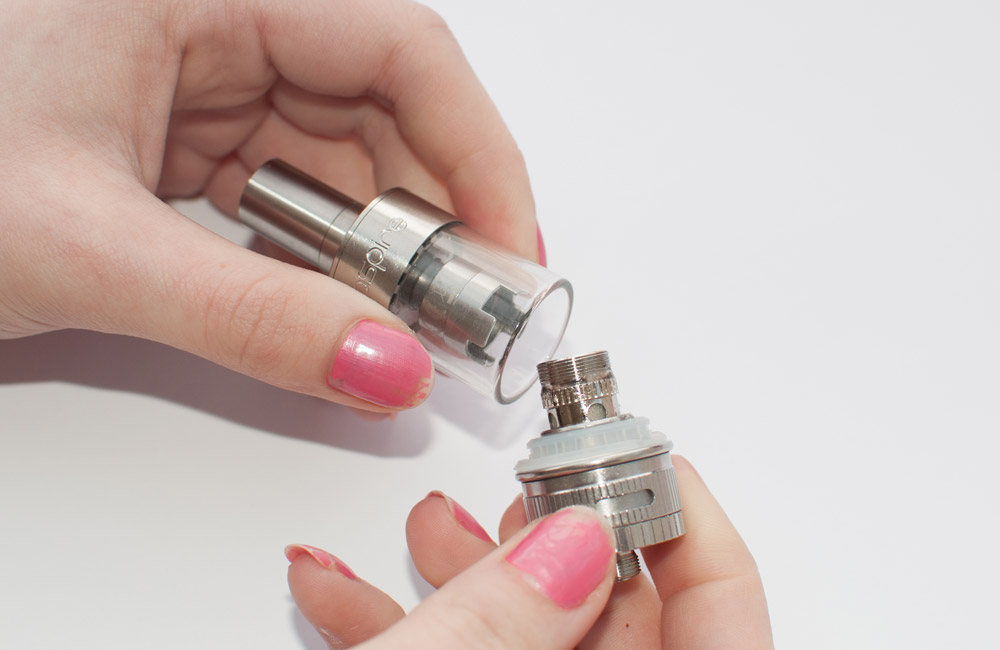
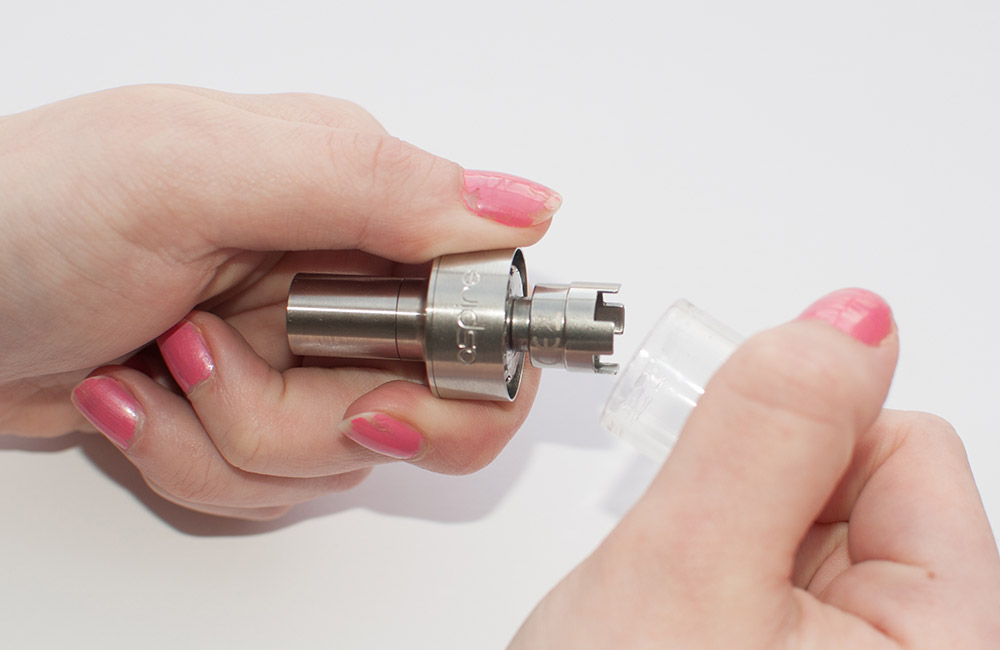
5. To remove the tank from the top assembly, grip the bottom of the tank and gently pull in a wiggling motion to remove the tank. To replace, push the pyrex tank back in to the top assembly. This is held in place by metal tabs under pressure. Make sure that you push the pyrex tank back on square (straight) to avoid any damage.
